My Best Tips To Doing Upholstery Yourself
Over the last several years I have jumped into upholstery without any experience, and through all the mistakes I am so glad I had the interest to learn. It has allowed me to recover many of the second hand chairs and settes that I have found for an affordable price. Swedish style is certainly a style that I adore, but there is no way we could furnish a whole house buying antiques. Thinking back to the first chair I recovered, I am sure it was sloppy, but I learned my mistakes and moved forward. When it is your home, who cares if you make mistakes. Learning can be a lot of fun, and you get better as you practice. I am in no way a professional, although I have learned a ton over the years that I would like to share with you.
At first, I had no idea what I was doing. It would have helped if I took some classes as soon as I got interested in it, but I decided to take the long drive and learn on my own. Upholstery isn’t something I particularly enjoy, and at times some of the projects I have attempted are simply out of my league, and it can get discouraging, so try something that looks relatively easy at first. I don’t like looking at sloppy upholstery, so in getting it right, sometimes it takes me extra long.
One of the easiest ways to produce a nice looking product is to make sure your material is snug. The last thing you want is loose looking material that isn’t tight along the seams.
When I first started upholstering I simply went down to the local hardware store and bought a T50 staple gun, which worked pretty well, until it broke. I bought another T50, and it worked quite well, but just an hour of work would cause my hands to hurt so hard that I could only do so much upholstery every week. I then bought another manual staple gun which was backwards and broke instantly.
I eventually ran down to the same hardware store and graduated up to a electric staple gun. I sure saw a difference right away. I didn’t have to force my weight on the chair in order for the staple to grip the wood and fabric. It was rather –point, shoot, and it was done. The brand I purchased was the Arrow Pro Electric Staple gun which loaded with the same staples I was used to with the T50 manual staple gun, so I was in my comfort zone. This staple gun worked for the first couple projects, but because it was made out of plastic, then loading compartment broke. It was plastic. SO, again, I invested in yet another staple gun. In fact the exact same brand!!! I knew eventually it would brake again, so I decided to look into getting something more professional.
A friend of mine had an upholstery gun which hooked up to a compressor, so I decided to look into buying a professional upholstery gun and see how different it was compared to the ones I could find at the local Home Depot.
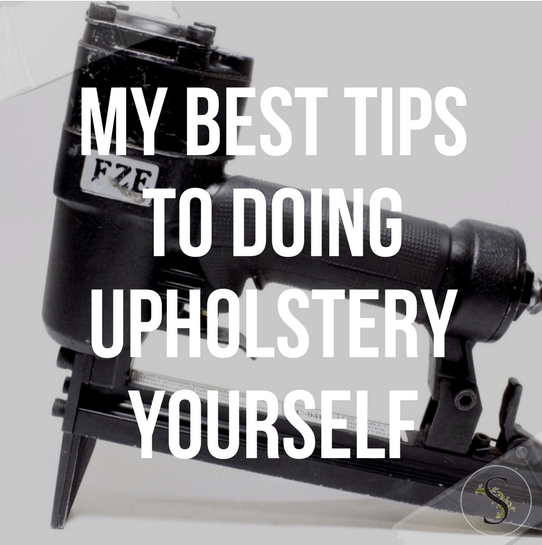
 I ran across the EZE TC-08LN Long Nose Upholstery Staple Gun
 on ebay, and took a chance on it. When it arrived at my home, it sat in the living room for several weeks, until I got around to working with it. I could’t figure out how the gun loaded, so I contacted the ebay seller, hoping to send it back to get repaired. He told me, that these professional upholstery guns load much different than the regular electric guns. You flip them over and they load through the bottom. The first time I used it I couldn’t have been more excited. I literally was jumping up and down, because of the vast difference in the staple guns I had been using up to that date. With a compressor, the sheer power of air forces the staple out where there is no NO work involved what so ever.
I was so used to pulling my fabric as tight as possible and then stapling it, that this gun can do most of that work for you. The ebay seller, said this gun would be so easy to work with, and that I would be excited when I finally saw the difference.
This gun certainly has revitalized upholstery for me that it has become a joy to upholster.
Getting that gun was one of my best decisions, and I would suggest you buy it for some of your upholstery projects.
In the last 3 months we just moved into our very first home, and I had a number of chairs that I have upholstered, although I am wanting to finish up the edges. I have been experimenting with double welting cording, but I have had a really tough go at it.
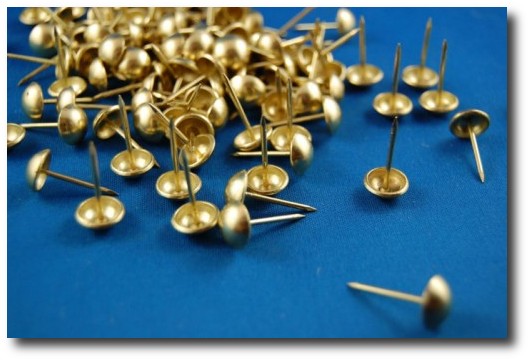
Brass Plated Upholstery Tacks Nails Trim pack of 100 From The Rusty Anchor
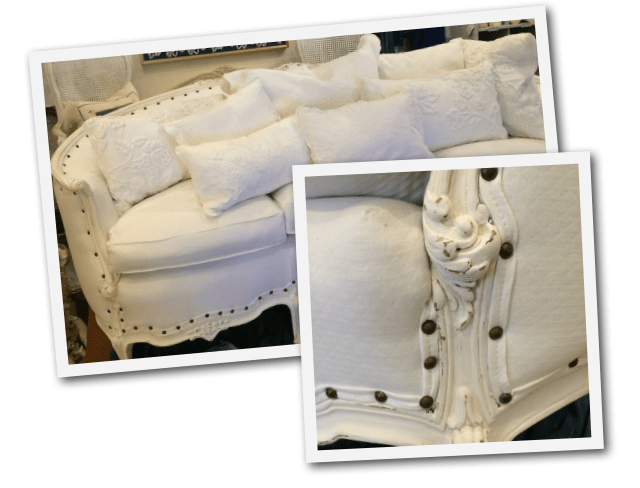 An upholstered sofa by Barbara Gray located at her shop -Etceteras 7503 Girard Ave La Jolla Ca.
In the past I have bought upholstery tack trim, which you can find on ebay by the yards for a very reasonable price. I have done a number of chairs with upholstery tacks, and the results do look very nice. They are a very easy way of covering staples.
In the past I simply sewed up a long strip of fabric which I folded and sewed down the center to create a nice professional appearance. Then, I used hot glue, and glued it in place, and then hammered on upholstery tacks for that professional look.
The upholstery tack trim is very easy to work with and gives your chairs that antique appearance without all the effort of lining each tack up and hammering it into place.
I still use this technique with many of my chairs. Here are a set of chairs I finished when I first started upholstering. I had no idea how to upholster the back, so I left the original leather fabric in place. Sadly the chair seats were torn to threads, so I recovered the seats and used upholstery tacks.
Another great tool that I picked up which I really enjoy is an upholstery tack spacer. You can get one from Kennedy Hardware for just over 10 dollars, and does it ever do a nice job of spacing out the tacks. I have done up my dining chairs with the spacer, and several other chairs, and it looks terrific. I never could get that professional appearance in the past spacing the tacks on my own, and this took is worth the 10 dollars.
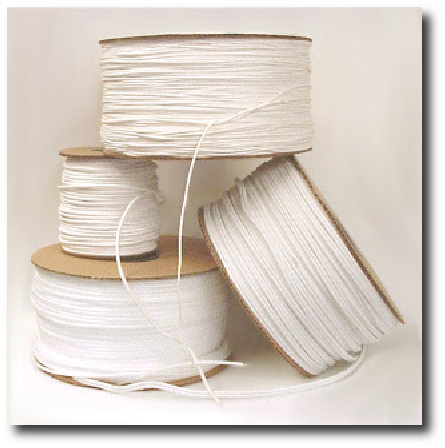
For my living room chairs, I really want a professional look with double welt cording. I love the simplistic look that it gives to furniture, and it gives off such a nice appearance. I had no idea how to get the look, so I decided to go to a local sewing machine store which the woman suggested getting a cording zipper foot. At the time I was attending a class on making box cushions and so a cording zipper foot allows your needle to get right near the edge of the cording where a normal sewing machine foot would not. When I discovered this, I again started cheering, because it seemed like I was battling getting as close as I could when I sewed pillows only to fail!! The zipper foot allows you to sew those really nice corded pillows and drapery with cording. It is a must have for sewing with cording.
Naturally I assumed when it came to double welt cording that you sew two cords separately with your zipper foot, and then sew them together.
I started looking on You tube for more instruction on this, when I came across a double welt attachment! I couldn’t believe my eyes, contemplating how much fabric I have wasted!
I then ran across a really great article by Prudent Baby how to sew welting cord. She does a great job of showing step by step how to sew welting cord.
Her article was just the very thing I needed!! She suggested buying a 250 yard spool from Rochford Supply which turned out to be the best deal after looking on ebay.
A 250 yard spool came to $27.94, with about 19 dollars of shipping which came to about $46.97. I purchased my first DOUBLE welting foot on ebay, and I am looking forward to whipping out these chairs, rather than having them sit in our garage!
The other thing I wanted to mention about the EZE TC-08LN Long Nose Upholstery Staple Gun was when it came to stapling on the final double welt cording, it was as simple as you can get. You can pull the cording around the curves of your furniture with ease!! The staples on this gun are so thin, that they can hardly be seen. If you shoot them in the middle of the double welt, they disappear. It truly produces a professional result, and with little time what so ever.
I am looking forward to my new welting cord and welting foot!! ANYTHING to make our lives much easier!
Quiet luxury inspired by 18th-century Sweden
Light - Patina - Heritage
