Plywood Plank Flooring, A Swedish Design Must Have – Part 4
I stumbled across a DIY trend out there where people are cutting their own “planks” out of plywood. It seems rather unusual at first, but the results really surprised me. You get the look of real wood flooring which you can sand, paint, stain, varnish, or white wash, for fractions of the cost.
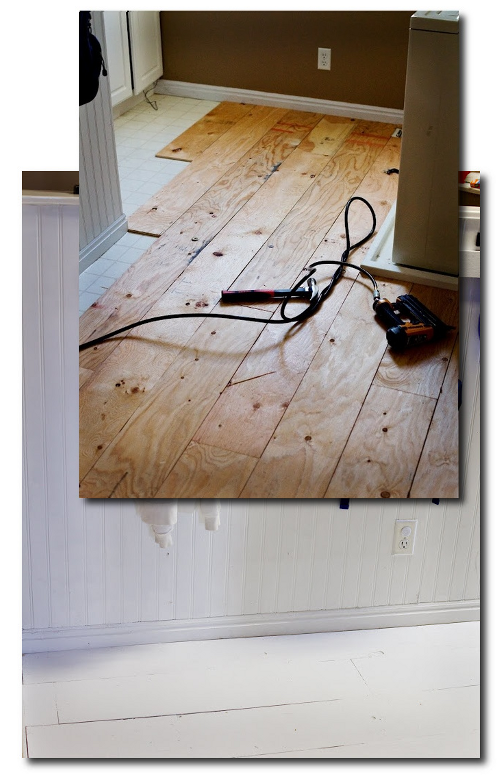
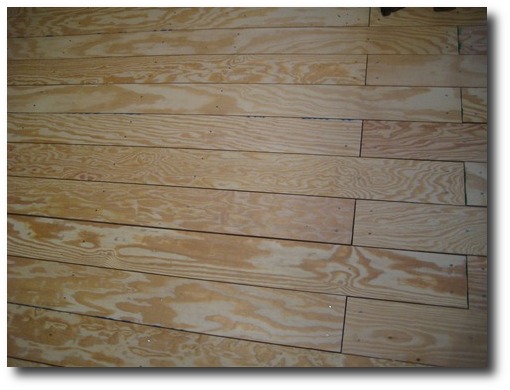
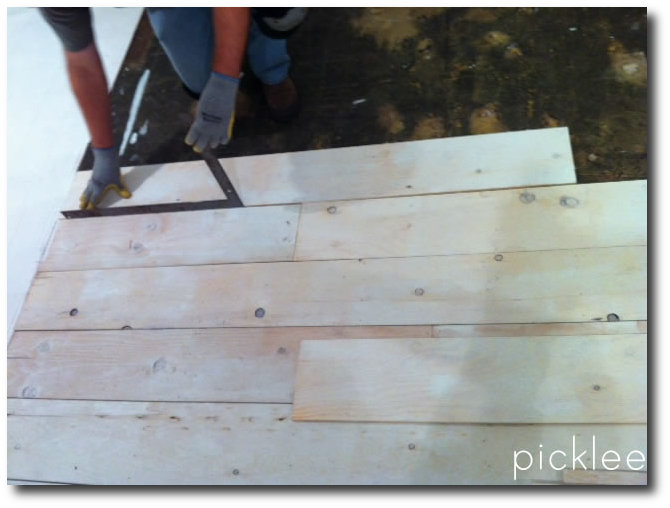
“We tore up nasty old carpet, then cut grooves in the plywood that was under the carpet to replicate plank flooring with a skill saw – and used a dremel to get closer to the walls. This worked better than the router which was recommended in the web article I got this idea from. We stained and then did three coats of poly. Everyone’s amazed that this isn’t ‘real’ plank flooring! We varied the width of the planks, using a 2×4 as a guide.”
There are a couple of links I want to share that might move you in the direction of considering this look.
1. Layers Of Learning Blog Flooring Transformation
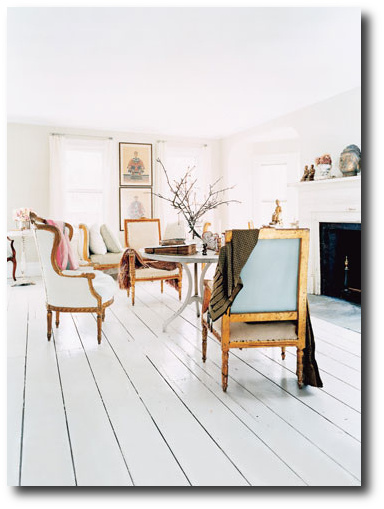
Layers Of Learning Blog posted absolutely stunning photos of a room that they used plywood cut into 6″ strips of wood.
They mention in their article that plywood floors allowed them to transform their WHOLE house because of the low cost of the materials. This certainly a reason to consider this option. Many people can only afford a couple rooms with the other options. Plywood is so inexpensive, that you can do it yourself, and it is affordable.
Plywood gives you the option to cut wide planks with real grain. For those of you who want the REAL thing, this would be an affordable way of getting the look for less.
Buying plywood allows you to do one room at a time. It doesn’t matter if your project takes you a couple months to a year to complete, because plywood is practically the same from store to store. The finishing process allows you to dent, distress, and apply paint or stain which unifies the space.
Another plus to plywood floors is if something is spilled on the floors, which ruins several boards, all they would have to do is rip up the damaged boards, and replace them with the same finishing paint, stain or varnish!
Here are some of their costs:
Living room – 20′x13′ which equals 260 square feet.
$13.97 each on 9 sheets of 11/32″ “CD” grade plywood = $125.73, See the rest of the break down on their blog Layers Of Learning Blog
Here are some of their tips to consider.
Don’t Buy the Premium Brand Of Plywood
“There are different grades of plywood. “A” grade is the nicest, it comes with one very clean and sanded side. This is not what we went with because, as the guy at Lowe’s said, we can sand it ourselves and save big $$$. A sheet of “A” grade plywood costs about $28 in our market, but a sheet of “C” grade plywood is only about $14.”
Let The Wood Adjust To The Temperature Of The Room
” After the plywood is cut, stack it in the room where you’ll be laying it for a couple of days.”
2. Quarry Orchard Blog
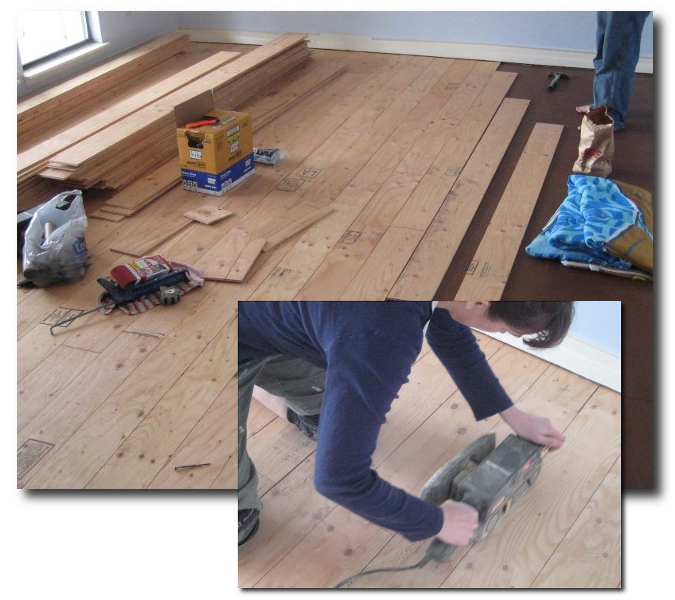
Quarry Orchard Blog also put together a beautiful floor made from Plywood. In their “Plywood To Plank Flooring Tutorial“
They decided to tackle a redoing the room above their garage with a square footage of approximately 533. They decided to go with 6 inch strips that were all 8 feet long. They were shocked that it only took them an hour and 45 minutes to cut the sheets into the planks.
A Couple Tips From The Quarry Orchard Blog
– They started with the first board and squared it with the wall, leaving a 1/16 inch gap between the first board and the wall.
– Be sure to use a nail punch to make sure that the nails at least flush with the flooring.
– Clean up the look by being sure the nails are all in line and evenly spaced. Have a helper that can measure and mark the wood. They measured every 16 inches for each nail. Consider making a jig to help with the measuring and marking for where the nails are to go. This will enable you to line up the previous board and mark rather than measure for every single nail.
Check out the final pictures of this room! What a transformation!
A Break Down Of Their Material Costs:
16 sheets of 15/32 pine plywood @ $16.49 per sheet
9 gigantic tubes of Liquid Nail @ $4.75 each
10 lbs of cut nails (ordered from Tremont Nail Company) @ $69.63 (includes s&h)
4 gallons of Varathane polyurethane @ $37.46 per gallon
2 quarts of stain @ $9.99 each

3. Tidbits From The Tremaynes Blog
For their stunning transformation they used 4×8 sheets of plywood; cut into 8 inch strips, and laid it like a regular hardwood floor. They used an old nailgun, some pennies to space out the wood, for the old farmhouse-style look. The cost was $60. Fabulous!!
About to open a shop in Newport, RI, store owner Jordan decided to tackle the outdated carpet flooring that came with the shop. Being that the shop was a historic home built in the early 1700′s, she wanted something more period appropriate.
She decided to go with the standard 1/2″ thick 4′ x 8′ sheets at a cost of just under $20 each. In order to have zero waste, she chose to have the boards cut into 8 inch by 8 foot lengths, giving her six planks per sheet of plywood.
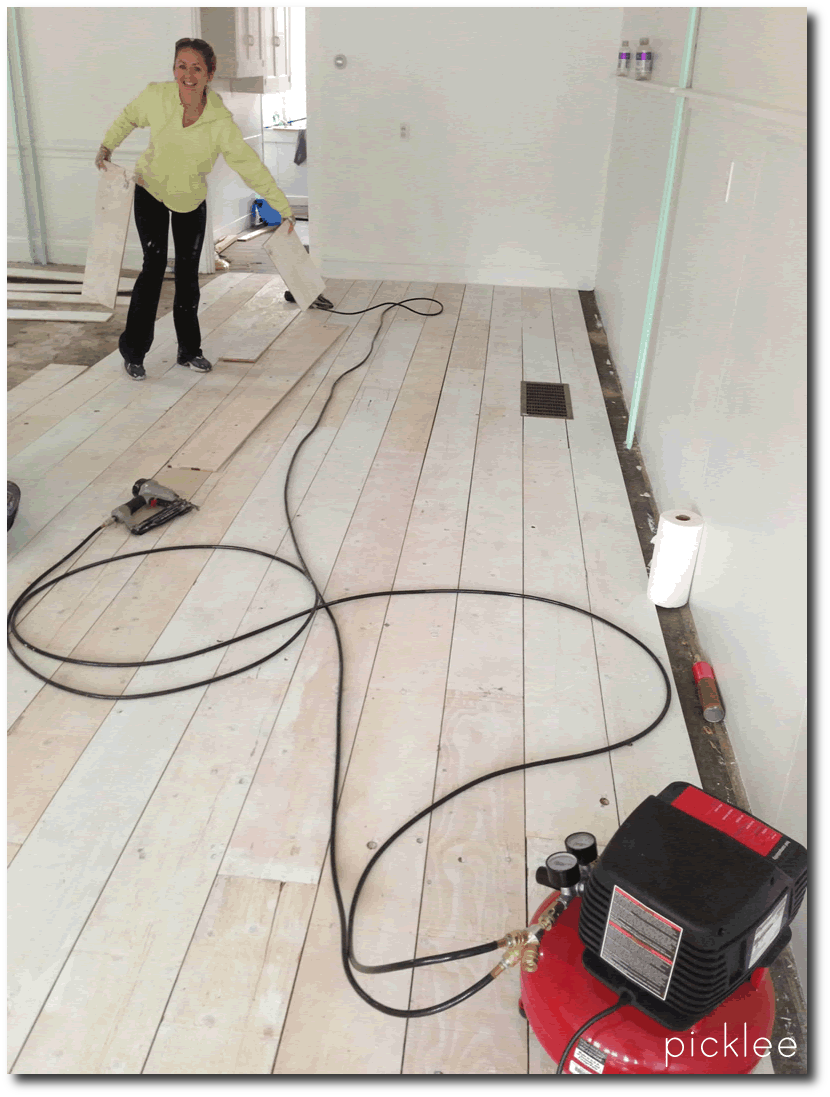
When she got back to the shop, she laid them out, and sanded all rough edges and splinters, and decided to white wash them before nailing them down. She mixed up 1/4 CeCe Caldwells Simply White Chalk Paint and 3/4 water. She then used a roller attached to a broom handle to apply a coat of the white washed paint to all of the planks.
After all the planks were dry, her fiance Brett, started working on nailing the planks to the flooring. They used Bostik flooring adhesive to the backs of the plywood planks, which were then laid into place and nailed into the floor. Brett used 1 1/2″ nails and shot them in on an angle. The nails were spaced out about every 12″, placing two all along either side of each plank. Brett used a metal straight edge for a spacing guide, which gave the perfect distance between planks. As Brett went on nailing down the boards, he used a table saw to cut some of them into different lengths so that the boards would have more of a staggered look.
Some Additional Period Looks To Give You Inspiration:
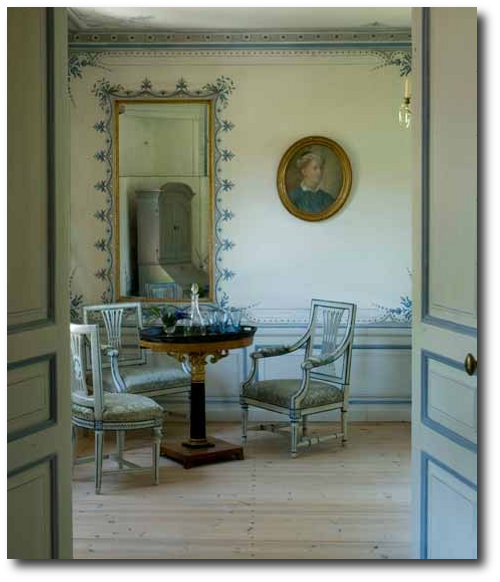
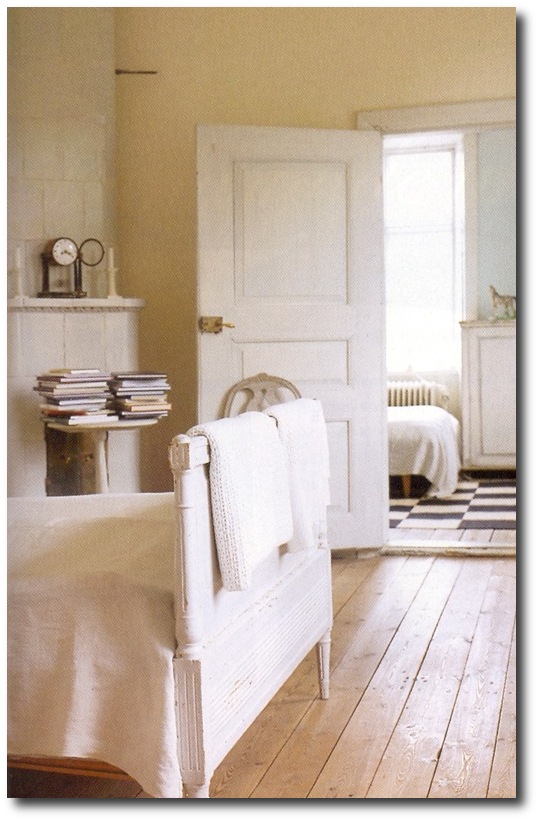
- Stunning Antiques With White Washed Flooring- Unknown Source
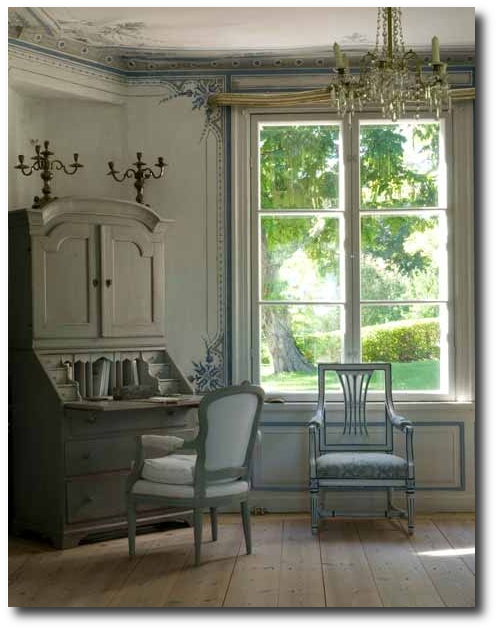
- THE SWEDISH ROOM by Lars Sjoeberg and Ursula Sjoeberg,
- Photographs by Ingalill Snitt
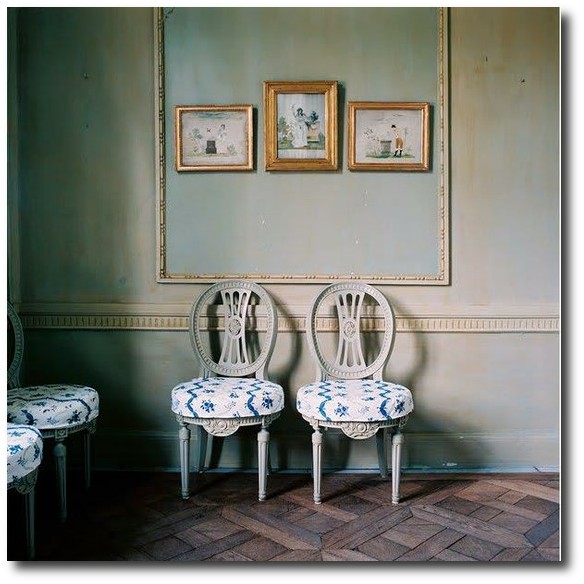
- Classic Swedish Home With Wood Flooring- Painted White Gustavian Bed
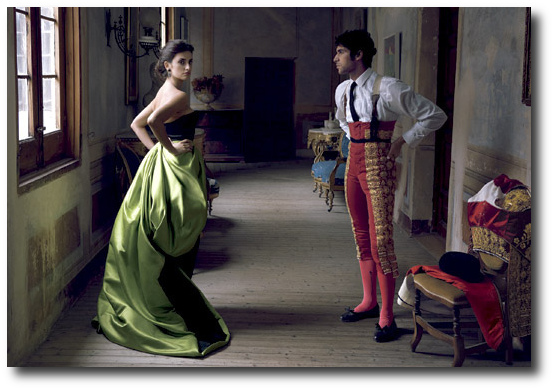
- Beautiful Planked Wood Floors White WashedCayetano Rivera Ordóñez & Penelope Cruz in Armani Privé – Made in Spain
- Photographed by Annie Leibovitz for US Vogue December 2007
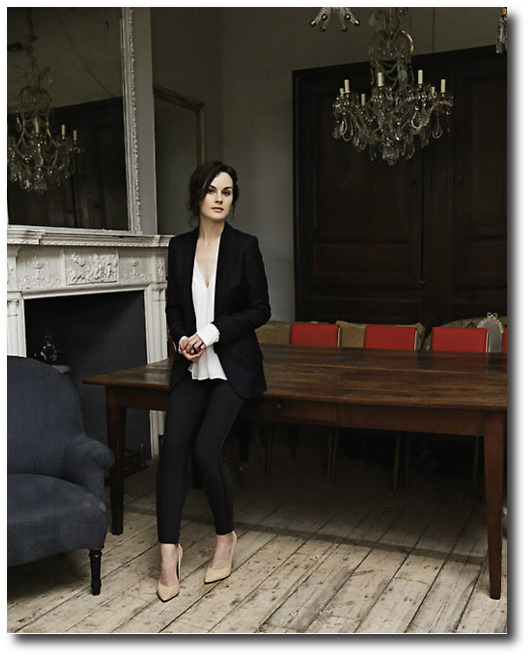
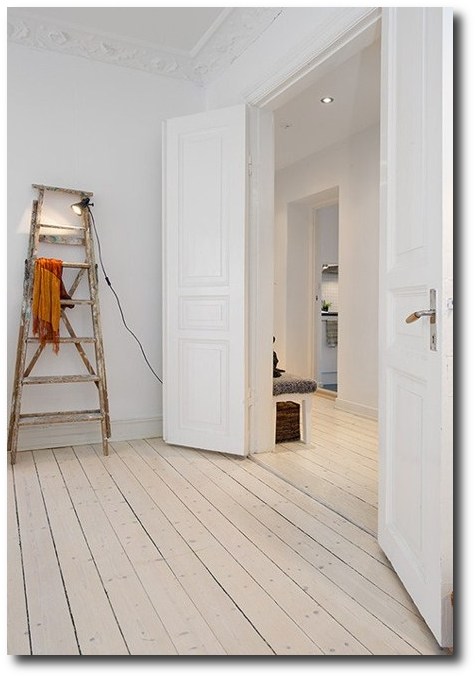
- Distressed Wood Flooring- Make your plywood floors aged with translucent glazes
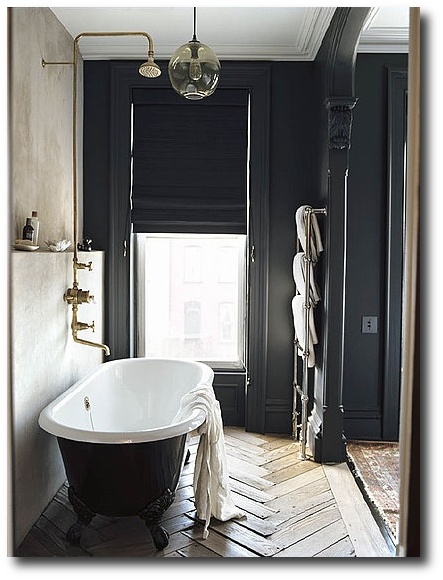
- Herringbone floors add personality in Jenna Lyons Brooklyn Townhouse.

![]()


Quiet luxury inspired by 18th-century Sweden
Light - Patina - Heritage