Furniture Painting, Distressing & Glazing
1. Milk /Chalk paints have a saturated color making them an industry favorite. Their chalk like appearance along with being very easy to distress make the paints a favorite amongst painters.
Simply paint your piece and let it dry. As usual, distress your piece of furniture, and apply a tinted wax to the surface of your furniture giving it an aged effect.
2. Using Regular Paints:
Any typical paint will work with this finish. Ideally, starting with a brighter paint is always better. The reason for this is, as additional layers of paint are added, the final paint finish will still have lots of pigment to the overall appearance even though additional dark glazes were added on top of the original color.
Consider using a brighter blue or green in the pastel range in a flat finish for your project french chairs.
Flat sheens allow you to work with the additional glazes much easier. Flat or eggshell work very well, so either one can be used. A satin or semi gloss tend to not eat up the glaze as well as an eggshell finish.
Lets get started:
Paint your entire frame and let it dry. Once it is dry, distress the frame using a sponge sander.
Sponge sanders are great because they can give a natural distressed look compared to belt or electric hand sanders. Norton has a 6 pack for $5 which is the price of two sanders in most stores. The next step is to add the decorative finishes.
There are several ways of going about this.
A) Dry Brushing: Is basically the effect of using a small amount of paint feathered on to a piece of furniture. The overall look is subtle. Much like applying blush to your cheeks over foundation. The effect is light, and not rustic what so ever.
For example if you are working with a bright mint color, consider dry brushing 2 or 3 shades of the same hue (darker or lighter ) on to your furniture.
This is simply done by having a very small amount of paint on your brush, and wiping the excess off on a cloth and lightly going over your furniture. If you are finding streaks or lines with the paint brush, you have too much paint on your brush.
The overall effect should show no indication of what medium you used to create the effect.
An oversized badger brush is ideal for this.
B: Painting On – Wiping Off
This is one of the easiest techniques around, and one I am very comfortable using. Not only is it easier than dry brushing, but it allows you to not over think the process.
This effect looks terrific on distressed furniture, so distress the heck out of your piece!
Again, mix up some paint a couple shades darker or lighter than your base color. This doesn’t have to be complicated, add black or white in your original paint color.
This technique is simply achieved by brushing it on and wiping it off with a rag. Working with a damp but dry rag works the best for me.
If you are working with a fairly large piece, consider working with glaze. Glaze gives you additional time to get the paint off the furniture, compared to regular satin paint.
Going back a few steps……
At first, I recommended a flat finish as your base coat, and the reason for that is flat paint covers well. It sands very easily, and it takes less coats to cover evenly. Additionally it allows the glaze to stick well, and move around easier than a semi gloss base coat.
Glazing on the other hand- When it comes to using paint (not glaze) to dull your furniture down, a satin finish will give your piece a bit of a shine, and also allow you to move around the paint easier with a cloth. The product “glaze” purchased in a store will give your piece a bit of shine as well.
Working with glaze gives you extra time to move around your paint. If you plan on working with paint only as your dulling medium, you have to work extra fast. It takes some practice, especially on larger furniture. Glaze is always easier on bigger pieces, and smaller pieces alike.
Ideally if you start off using a very bright color, dull it down with a couple shades lighter than the base color (see the color chart above) and then finish it off using a very thin coat of brown or olive glaze. I buy my glaze UNTINTED, and tint the paint myself as I go along, because I have a variety of painted projects that I use with glaze.
Glaze is usually mixed half paint to half glaze. Again, eye ball it, you don’t have to measure it.
I find sometimes the nicest finishes are those which I paint on a very light coat of brown glaze. Instead of the other finishes which I take off with a damp rag, this finish is just a thin layer of glaze. The overall effect just dulls down the overall color. Brown glaze can make a huge difference with colored paints. It also makes a impact on white paint as well.
When painting with white, consider a creamy paint, not stark white as your base paint. When glazing over white, paint on the brown glaze, and take it off very very quickly. This is especially so using flat paint. The flat paint will soak up the brown pigments so don’t leave your glaze on too long. In fact, I would suggest using more glaze to paint ratio when glazing white furniture. Experiment for yourself to get the timing right.
C)The best method I have used is oil paint to create surface glazes. I love working with oils because they produce an effect like nothing else. I do the first two steps the same as above….1 (base coat), 2 (distressing) but when it comes to adding a glaze, I tend to work with a satin oil paint from my local Sherwin & Williams. You can get custom colors mixed, and I tend to work with a yellow that is between the top two colors in the color chart above. The yellow works over almost every color I paint with. Over brown it produces the gray you see in this photograph. Here is another dresser which I used the color. You can see remnants of the paint in the details. With oil, you have to work pretty quick, because it can get very thick quickly, making it more difficult to create a nice even finish.

CAST IRON URN Terra Finish From Desgin Studio D
(This is as close as I can describe what a finish looks like using oil paint. Oil paint allows you to move the paint around the piece with a damp cloth leaving a textured finish behind. You can see that in some areas the paint was removed more than others)
For dressers I work in very small sections. Smaller pieces of furniture I quickly apply paint to the entire piece and work like mad to get it off.
I simply paint on the oil paint, over the entire piece (or small sections if it is a big piece of furniture) and use an old facecloth to take off the paint.
If you do more pieces at the same time, I find my cloth gets saturated with oil, (which dries) and makes my later pieces much better.
I have used a muted dulled yellow over blue, and green, and the effect is terrific! Nothing comes close to oil paint. Painting can be fun, experiment, and make the pieces your own.
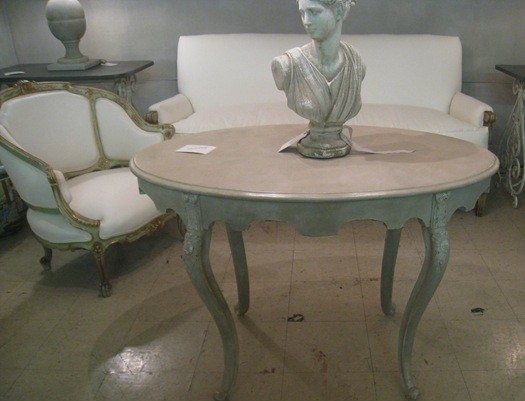
Painted Antique Furniture Using Pastel Greens – Picture Credited to Cote De Texas
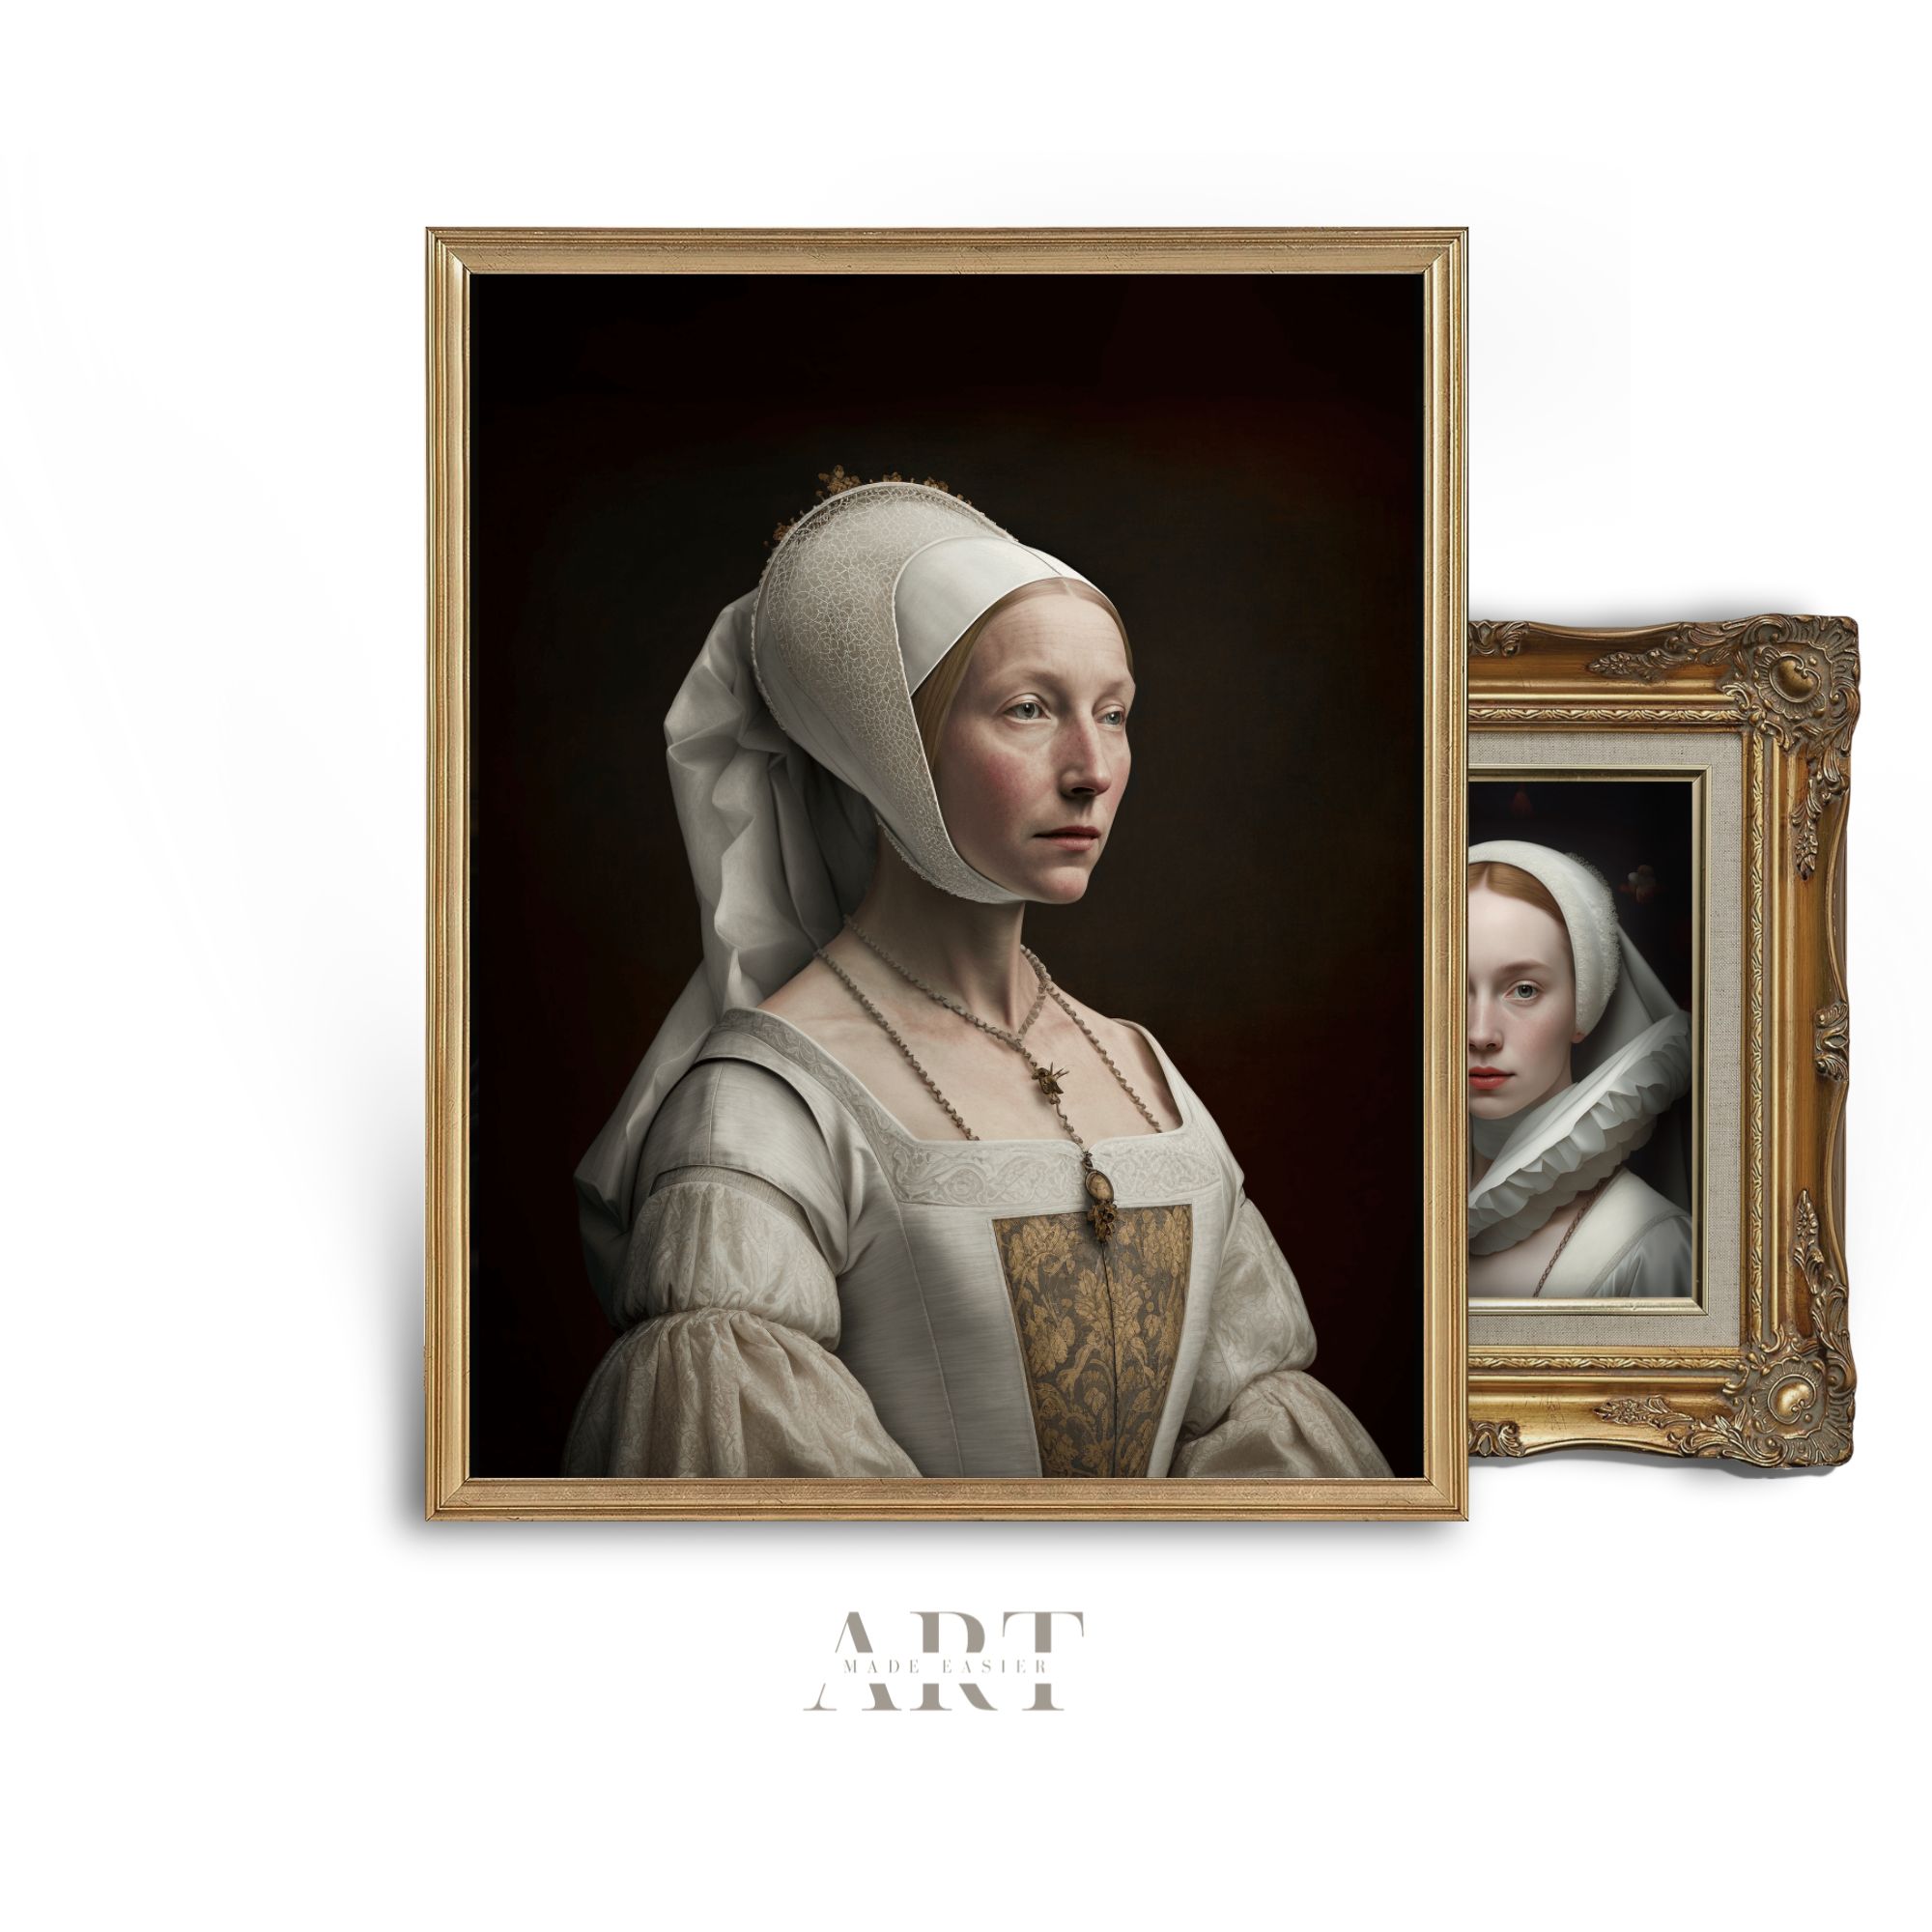
Quiet luxury inspired by 18th-century Sweden
Light - Patina - Heritage
