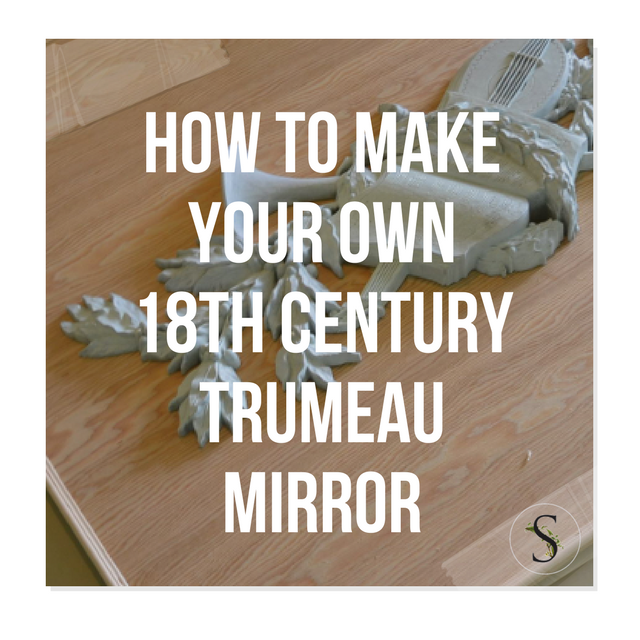
If you are looking for an inexpensive way to dress up your walls, this might be it. I happen to adore the 18th century style, but don’t want to spend a ton of money to achieve the look in my home.
Decorative carved plaques were quite popular in France, and eventually Sweden perfected the look. Musical instruments, hunting motifs, and florals seemed to be the most popular carved designs in the 17th and 18th centuries. These wood carved decorative elements were often seen framed within wooden decorative trim and commonly found above doorways, or fireplaces.
Today you can see these beautiful plaques on pieces of wood in some of the most beautiful interiors decorated after the European styles of the past.
I have created a few of these plaques for my house and I really love how they have turned out. They give me the look of a large piece of art, without having to complicate my interior with lots of colors. Best of all, this project is fairly simple to create.
Vintage Syroco
Rococo is a design most popular in the 1730s. The design heavily influenced architecture, painting, sculpture and eventually furniture and decor.
Mirrors made after these styles became popular in the 50’s by a company called Syracuse Ornamental Company who at the time produced ornamental carvings to embellish furniture. The company was founded in the late 1890’s by Adolph Holstein who was a talented Austrian woodcarver.
The opportunity for his business to expand when Holstein developed a casting technique which produced a high quality product without the laborious intensity and time of wood carving. Holstein used Syroco to create perfect replicas of their original carvings.
Many of their molds featured a wood grain within the mold, giving their overall product a higher end feel for less money. As the modern movement hit in the 1940’s their business turned from ornamental embellishments to novelty items which didn’t profit as well, so the company returned to making the highly ornate wall mirrors, sconces, and decorations in the 1950’s which became a huge sensation.
These very same items from the 50’s can be found on ebay, and made to look high end with layers of paint in shades of gray, white and beige paint for a higher end European look.
The materials you need are plywood, decorative trim, a decorative element that you want to frame, a miter box and a compressor with a nailing attachment certainly helps.
The pieces that I have purchased for my creations are Dogwall plaques from syroco, and two large vintage burwood musical plaques.
I tend to make my projects as simple as possible. For this project I simply cut a piece of plywood, and made my own miter box to hand cut the decorative edging that was placed around the edges of the wood.
The decorative edging I used was from Home Depot. You can find a picture with the number of the product below. The edging was simple, and easy to work with.
I made my miter box by simply screwing a piece of 2 x 4 wood together with two wood sides. I then took my miter saw, and cut the wood to give me a guide. It was as simple as that. I found that using my saw was not only dangerous with thin wood edging, but also that the wood would be torn apart with using the fast blade. My advice, buy a miter box or make your own like I did.
Next, I used a compressor with a nailing attachment to add the trim and the decorative element. I used wood filler to fill these holes, along with adding wood putty to the sides of the plywood to give it a finished appearance.
In a previous article, I described using Durhams putty to seal the edges between the wood and the decorative relief. You can find more pictures of this project in this post there. The beauty of Durhams putty is that it dries in a shade of light yellow. When you paint your object, what I do is wash off parts of the motif with a damp cloth, and the putty appears to look like wood painted. Working with this product is a perfect way of faking this whole look.
I love this look and these plaques happen to be my favorite pieces in my house. What do you think? Do you love it?
More Inspiration:
- A plaque made by Bliss Studio- here
- Plaster medallions of Carl Michael Bellman & Ulla Hopken – here
-
Swedish Plaster Medallions- here
- Wood Wall Plaques- here
Burwood musical plaques before they were painted
The molding I used from Home Depot
My own DIY miter boxes

Above: Here is what it looks like today…
The plaques I made for my living room in progress


Here is what they look like completed


Dogwall plaques from syroco, and what they look like today….


Here is what the plaques look like today

My Floor mirror using a vintage syroco and a piece of plywood and an existing frame found at Goodwill

The decorative musical plaque was simply washed in gray paint
What a simple way of getting a high end look for less. Do you like what you see?


