Get The Swedish Look By Installing Tongue And Groove Paneling

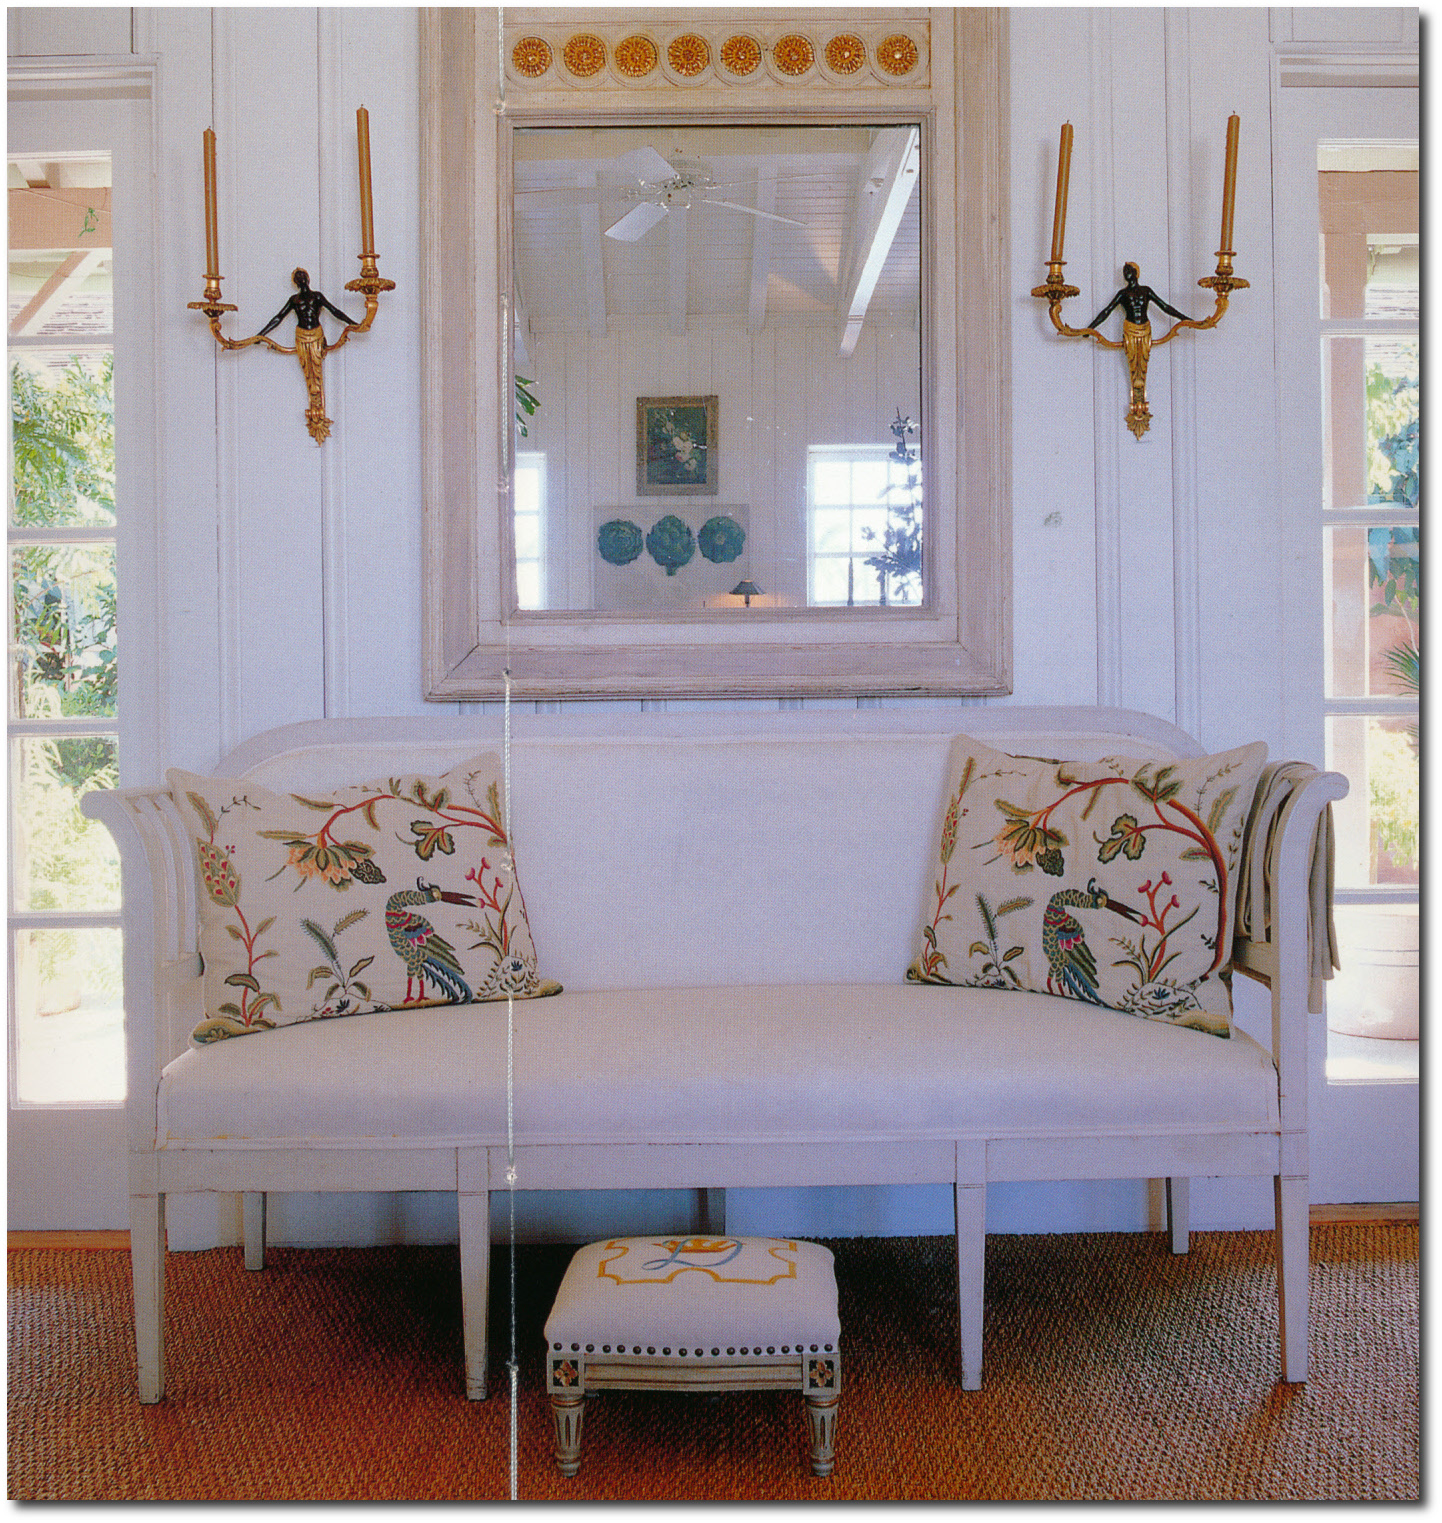
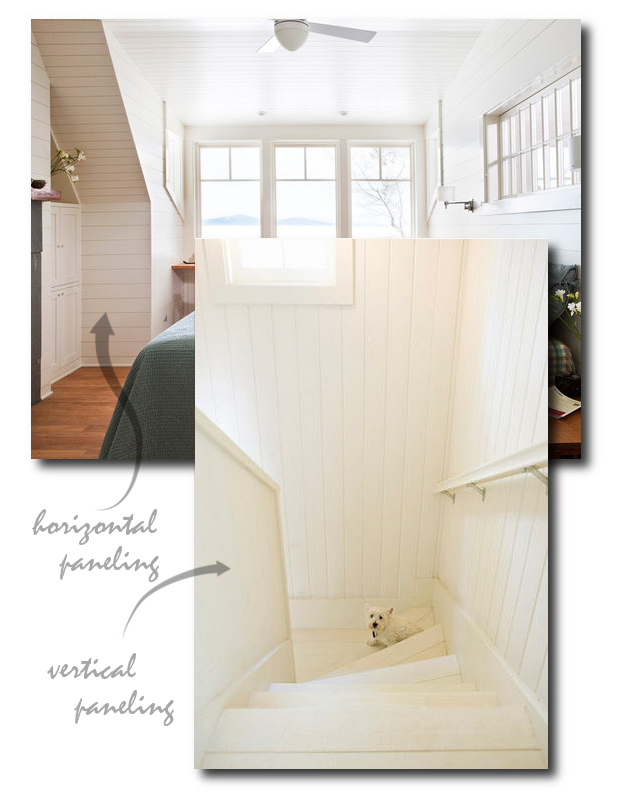
This wonderful picture was taken From House to Home
Tongue and groove paneling is a great alternative to drywall for a home which is decorated around the Scandinavian style. These wood panels are inexpensive, and easy to install. All that is needed is a good nailing gun, wood glue, and a good miter saw, and this weekend project can radically transform any room in your home. These planks of wood are quite thin, making them lightweight, practical solution for walls and ceilings.
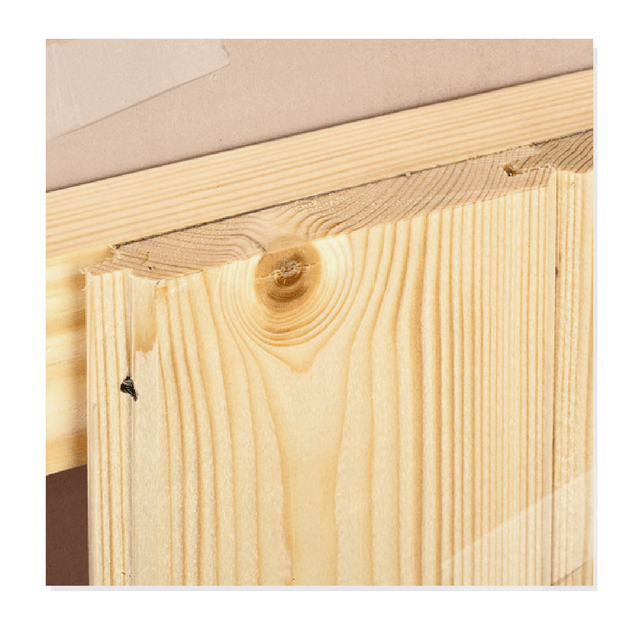
The tongue and groove features of the wood make it really easy to put together, and with a surprisingly quick turn around time. The installation of tongue and groove paneling, compared to drywall, (which requires taping, mudding and sanding) is easier, cleaner and takes less time.
Installation Steps
1. Calculate How Much Wood You Will Need
Calculate the amount of paneling that you need. Amazon offers free shipping right to your door, making it easier if you don’t have a truck to transport the wood.
Determine if you want to do the whole wall, or half the wall. Consider changing up your trim. You can add layer on your trim to make it appear more bulky and architectural. In the House to Home picture above, you can see the floor trim is built up giving it more of a presence in this room. Calculate the amount of wood by simply measuring the length and height of each wall, and multiply the height times length to get square footage.
Tools and Wood
-Allwood V-Groove Knotty Pine Planking, 70 SQF Thickness: 5/16″, Width: 3-1/2″, Length: 96″ Package: 70 SQF (5 mini bundles x 14SQF) $110 + Free Shipping on Amazon
– Optional Buy For Walls of Half Pine Planking and half wallpaper – Allwood Wainscot Base and Chair Moulding, Thickness: 9/16″, Width: 2-5/8″, Length: 96″ $13.60 + Free Shipping on Amazon
-Henkel Power Grab All-Purpose Construction Adhesive (Recommended for molding, paneling, chair rails, plaster, concrete) $17 +$7 Shipping Amazon,or add on item for $4 with Free Shipping
– A Miter Saw – Buy re-conditioned saws on Amazon from $45 dollars
– A Nailing Gun and Compressor Combo. Money worth spent.
– Senco PC0947 18-Gauge Brad Nailer Compressor Combo Kit $179 +Free Shipping Amazon
– Porter-Cable 6-Gal. Portable Electric Air Compressor and Finish Nailer $199 + Free Shipping Home Depot
2. Remove The Existing Trim
-Before you start installing the wood paneling to the wall, remove the existing trim by using a hammer or pry bar. Be careful with your trim, so you can put it back into place once your wood paneling is up on the walls.
-Locating the wall studs and ceiling joists is a good starting point. Mark them out on the wall using a stud finder. This can be a tricky part of the job, but well worth your time. Decide how you would like to install the paneling. You can either run the planks vertically or horizontal to the wall. As you put up the wood planks, nail them right into the 2 x 4 studs.
3. When installing the paneling to the wall, leaving a gap of 1 /2″ at the edges for expansion. Start installing the plank with groove closest to the wall, and secure the first row by nailing into the stud. Insert the nails into the tongue at an angle and use enough force to have the nail flush with the surface of the tongue. If this is done properly, the groove of the next board should slide easily over the nails on the tongue of your previous plank.
Install your next row by sliding together the grooved planks. Since the groove side is now secured by the tongue of the first row, there is now no need to nail the board on the groove side, although if you do decide to nail on the surface of the plank, wood filler will fill in any holes resulting from the nail gun. Continue to install rows and remember to leave a 1/2″ gap at all wall surfaces.
The space left at the last row usually will be narrower width of your plank. Measure for the width needed and cut along the length on the tongue. Decide how you are going to finish your paneling. If you have taken your trim off, and have decided to paint your walls, consider painting the trim before hammering it back to the wall. Reinstall the trim, and additional trim pieces can be purchased to cover the gaps.
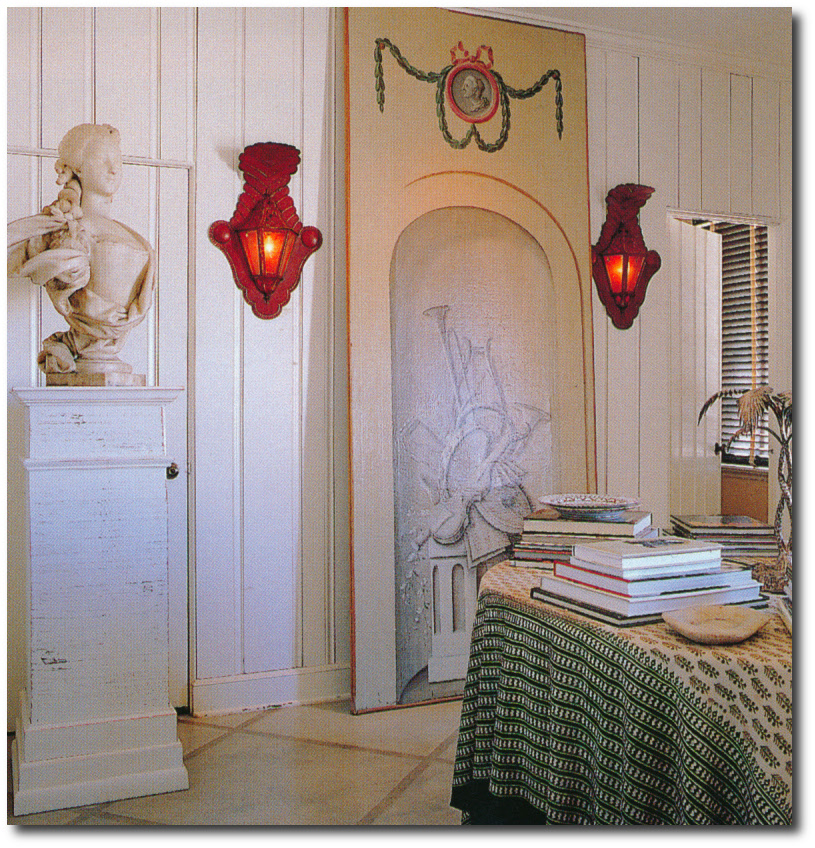
Lars Bolander
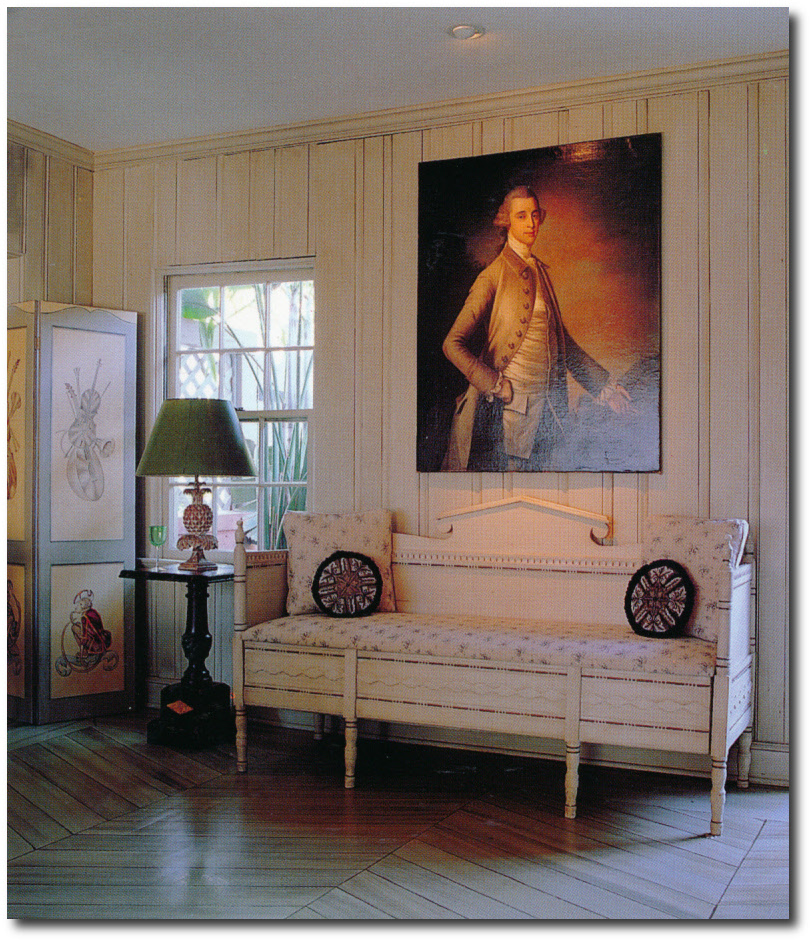
 Lars Bolander
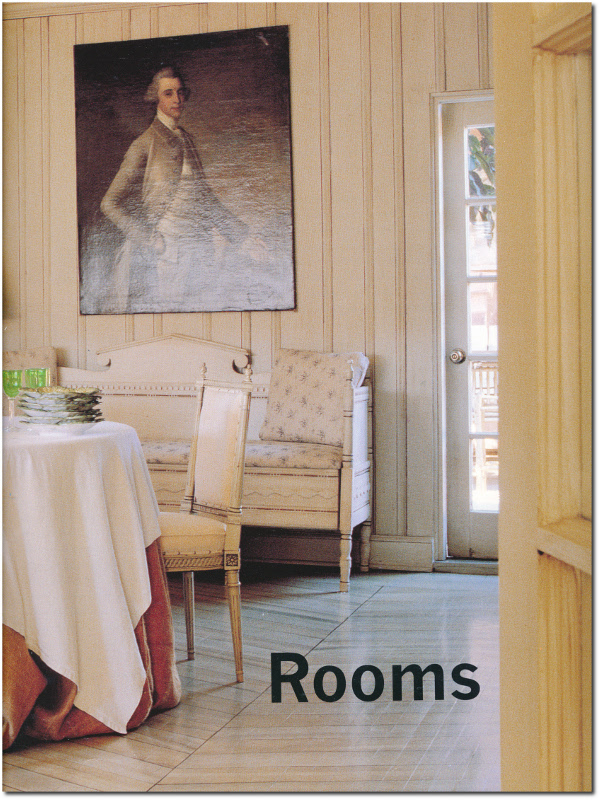
Canadian House and Home Magazine June 2013 Issue
Featuring Rick and Lorna’s Langley, BC home.
A Rustic farmhouse table, slip-covered wing back chairs, white painted furniture, and painted wood paneling give this room a classic Swedish appearance. See more of this home by clicking on the images below.